It all depends on the glasses and your facial features. We will try to show you how to do it in 3 steps:
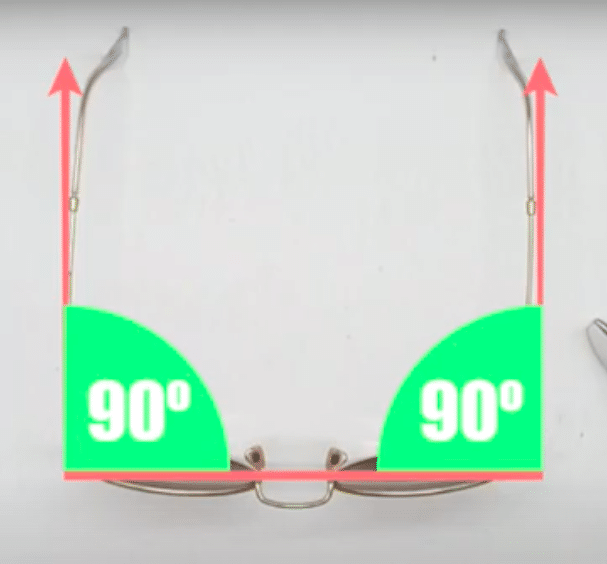
Step 1
The idea is to get the arms of our glasses straight. How you do this depends on the material: if your glasses are metal, we recommend using pliers; if they are plastic, it is a bit more work because we will need to apply heat.
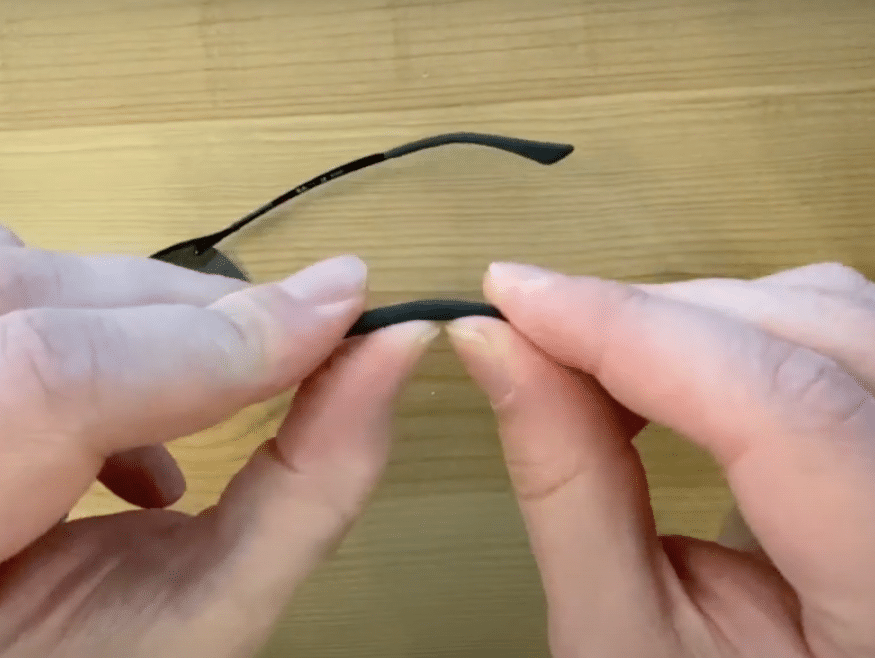
Step 2
Bend the arm at the temple tip, at ear level, so the glasses don’t slip off. Put your glasses on and bend the arm where it meets your ear. Be careful! If you bend your arms too much, they can be uncomfortable and hurt you.
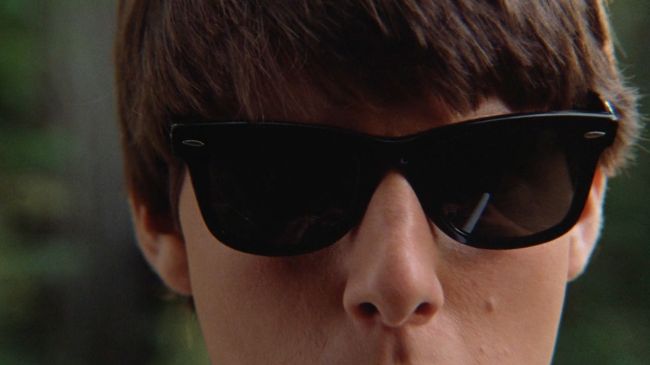
Step 3
We need to get the glasses level with our eyes. Even if the arms of our glasses rest on a flat surface and are perfectly aligned, that does not mean the glasses will sit straight on our face
Why?
We all have one ear higher than the other; they are not in exactly the same position. To compensate, we will bend the end of the arms of the glasses. For example:
If the right side sits lower than the left, we will bend the right arm a little more than the left one.
Even when they are your size, glasses almost never come adjusted to your face. If they slip down, pinch behind your ears or look crooked, you can fix them with three basic adjustments: straightening the arms, bending the temple tip at ear level and leveling the front. Here is how to do it on your Ray-Ban and on glasses from any other brand.
What’s more, adjustments wear off with daily use, so it is worth checking them from time to time.
Before you start
Know your frame material
How you adjust your glasses depends a lot on the material. Metal frames can be carefully bent cold, ideally with smooth-jaw pliers. Plastic or acetate frames should not be bent cold: first you need to warm them with gentle heat (hot water or a hair dryer on a low setting), otherwise they can get marked or break.
Identify your model
If you ever need a spare part, the reference is on the inside of the arm, in a format such as “RB3025 001 58□14”: model, frame color, lens size and bridge. Write it down before you start.
What you need
- A soft cloth to protect the frame.
- For metal: smooth-jaw pliers, with the cloth wrapped around the area so you don’t mark it.
- For acetate: hot water (never boiling) or a hair dryer on a low setting.
- A mirror and a flat surface.
How to adjust your glasses step by step
- Straighten the arms. Place the glasses open and upside down on a table and check whether both arms touch the surface evenly. If one sits higher, correct it: with pliers if it is metal, or by warming it first if it is plastic.
- Adjust the temple tip to your ear. Put your glasses on and note where your ear begins. That is where the arm should curve downward so the glasses don’t fall off. Bend a little at a time and try them on each time. If you bend too far, the arm will hurt behind your ear.
- Level the glasses with your eyes. Even if the arms are perfectly aligned on the table, the glasses may still sit crooked on your face. That is normal: hardly anyone has both ears at the same height. If the right side sits lower than the left, bend the tip of the right arm a little more than the left one, and vice versa.
- Check in the mirror. Look at the glasses head-on: the top line of the front should be parallel to your eyebrows.
In the video at the top you can see how we do it.
On metal frames with nose pads, you can also adjust the height and spacing of the pads so the glasses sit better on your nose. Do it gently and in small steps.
Common mistakes
- Bending acetate cold. It can crack or break. Always warm it first.
- Using too much heat. Boiling water or a hair dryer on full can warp the frame or damage the lenses.
- Making big adjustments all at once. It is better to bend a little and try them on several times.
- Squeezing the pliers without protection. You will mark the metal. Wrap the area in the cloth.
- Forcing the hinges. Always bend the arm, never the hinge or the joint with the front.
Frequently asked questions
How often should glasses be adjusted?
There is no fixed rule, but adjustments wear off with use. Check them when you notice they are slipping or look crooked.
What if an arm breaks while I am adjusting it?
You can replace it yourself. Find yours among our original Ray-Ban arms using your model’s reference.
What if the problem is the temple tips or the nose pads?
Temple tips (the ends of the arms) and nose pads wear out and can be replaced. You will find screws, nose pads and temple tips in other Ray-Ban spare parts.
Does this work for glasses from other brands?
Yes. The principles are the same for any metal or acetate frame.
Spare parts and help
If your glasses need more than an adjustment, at ReplacementLenses you will find arms, lenses and small parts for Ray-Ban and Oakley. We have been a certified EssilorLuxottica distributor since 2018, our parts come with a 3-year warranty against manufacturing defects, and standard shipping is free on orders over $ 50.53. As always, if you have any questions, write to us and we will help you by email.
Looking for a replacement part for your glasses?
Type the model engraved on the temple arm and we'll show you everything that fits.